ASRock Z97 Extreme6 Review: Ultra M.2 x4 Tested With XP941
by Ian Cutress on May 24, 2014 12:00 PM ESTASRock Z97 Extreme6 BIOS
For Z97 ASRock has restyled its BIOS to match the new design of their motherboard line. As the channel range has blue heatsinks affixed and the box is a mix of blue with a large amount of black, so is the BIOS. To a small extent, it feels a move towards the Z87 ASUS BIOS if anything, as the starry background and nice looking icons are gone to be replaced with a wall of text. Despite the sheer amount of text, the contrast between the foreground and background is done right so is easy to see, plus the general layout of the BIOS is the same as the previous generation but with a couple more features added in for good measure. For users with 1080p monitors, the BIOS offers a ‘Full HD UEFI’ mode which will improve the resolution:
This mode works fine with my 1440p monitor, but did not show up by default and had to be selected manually. GIGABYTE originally had that issue with their Z87 1080p BIOS, but it is fixed for Z97.
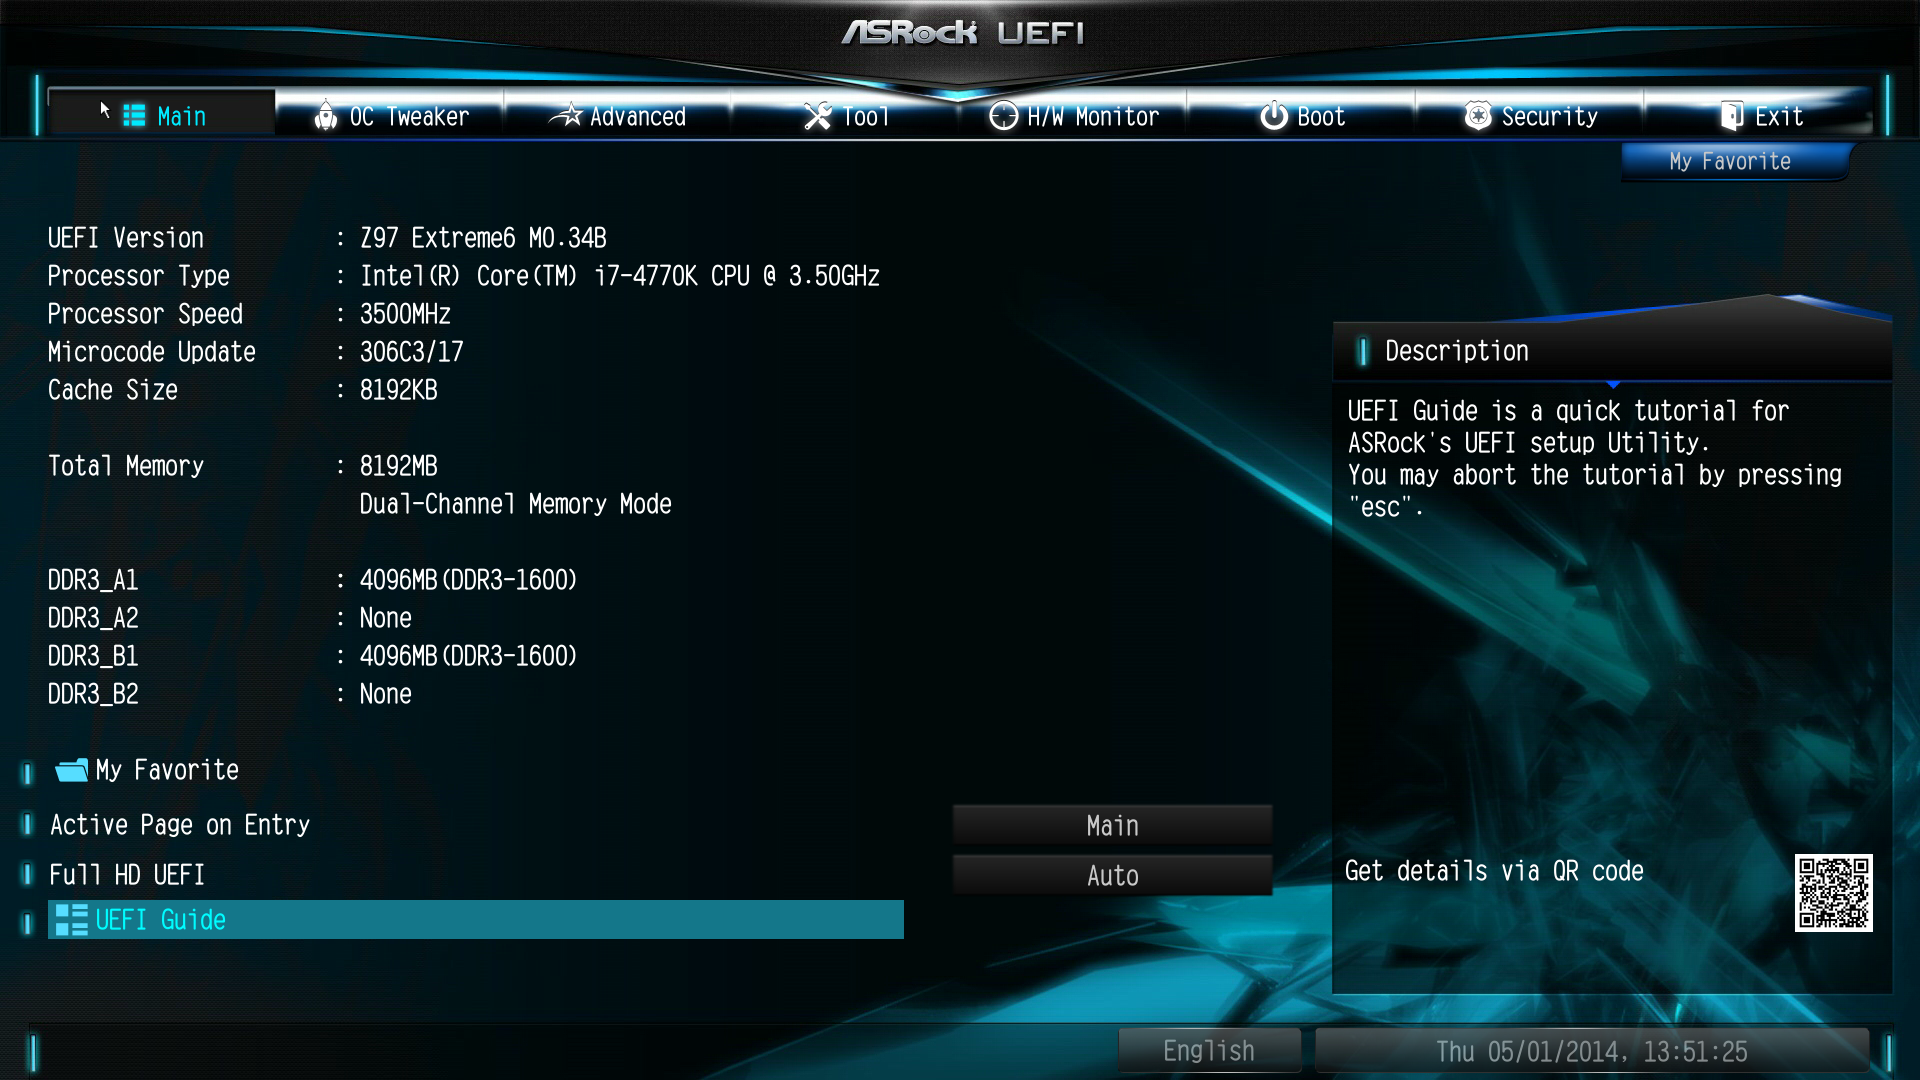
One of the common criticisms I have with ASRock BIOSes is the lack of information on the initial entry screen, especially when their competitors are ahead in this regard. While we get the motherboard name and BIOS version, the CPU name, speed, memory and memory per-slot detection, there is no CPU temperature, CPU voltage or fan speeds. ASRock now has use of the full 1080p resolution in the BIOS, it should be time to put it to use.
One of the newer features in the ASRock BIOS will be the My Favorites option, shown on the screenshot above. Similar to the implementation of the other manufacturers, users can select options from the BIOS to place into the My Favorites menu for ease of use.
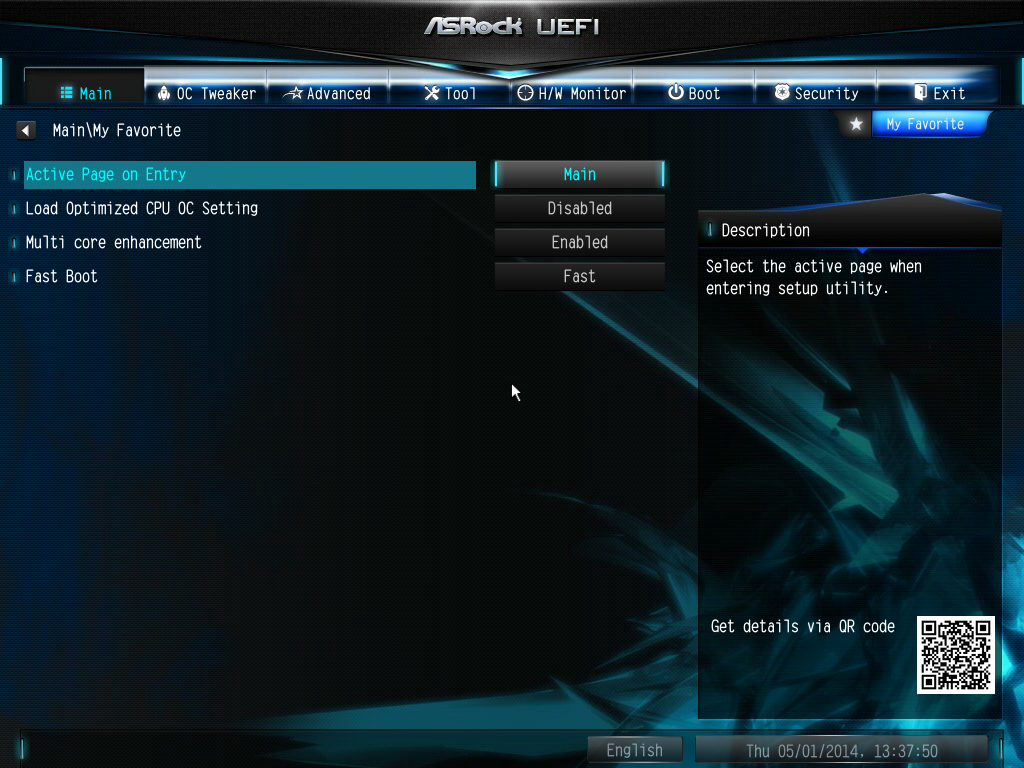
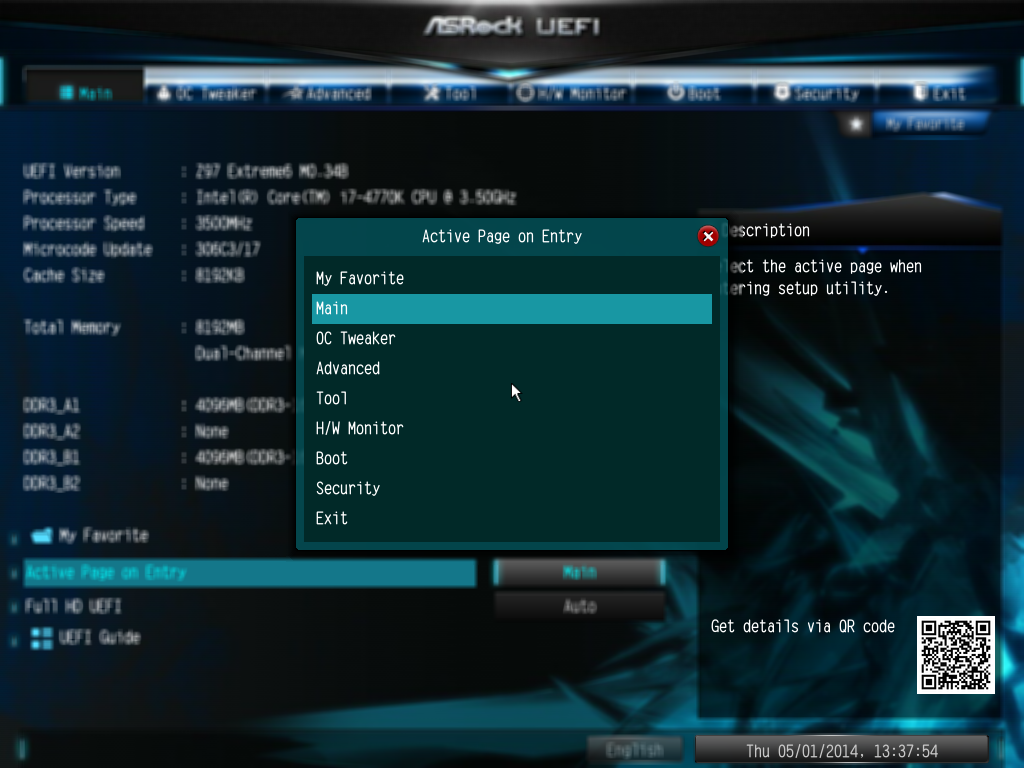
Here are a few options I quickly put in to show it working as it should, along with an Active Page on Entry point that allows enthusiasts to bypass any entry screens and go straight to the options that matter. Using this in conjunction with the My Favorites menu should be a no-brainer for extreme overclockers at least.
When it comes to the overclocking menu itself, motherboard manufacturers split into two groups. Some will partition off groups of options into separate menus, whereas others will spam a list of everything, hopefully with a sense of order. ASRock offers for the latter, as it took six screenshots to cover the CPU configuration, DRAM Timing, FIVR configuration, and the Voltage configuration.
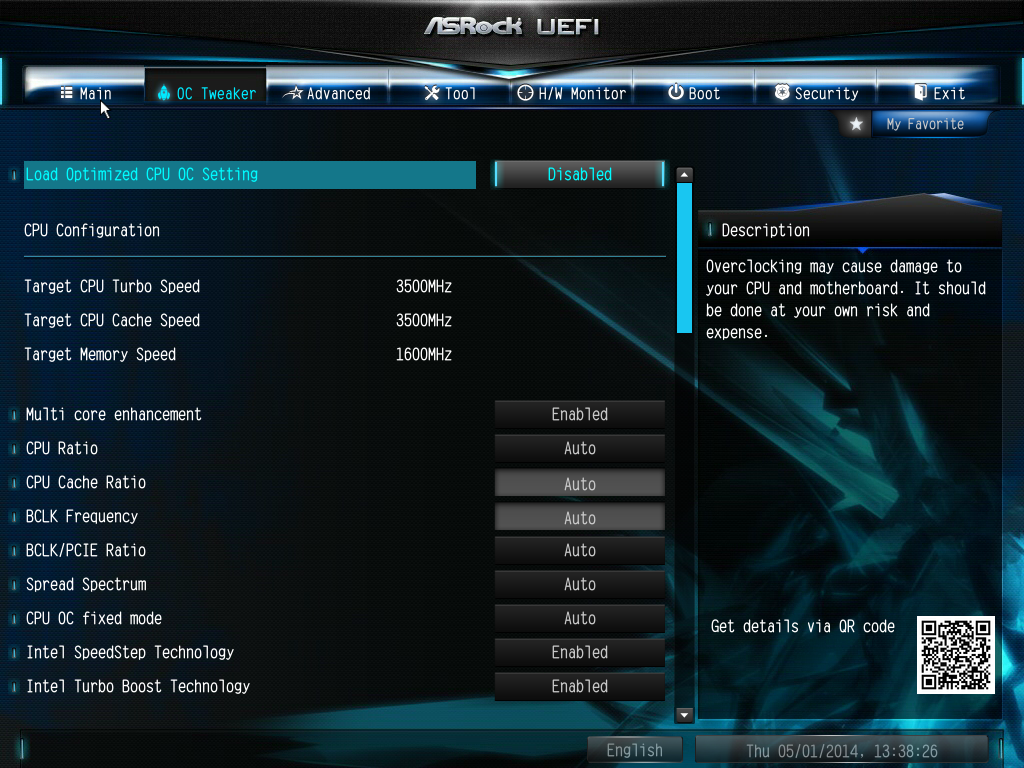
Even for me, that is a little excessive. ASRock might consider putting each of these options into submenus and having copies of the more vital ones (CPU Ratio, BCLK Frequency, XMP, CPU voltage, CPU load line calibration, DRAM voltage) out on the main OC Tweaker page.
At the top of the OC Tweaker page are the Optimized CPU OC Settings, or in plain English ‘the automatic overclock options’. Here we get 4.0 GHz to 4.8 GHz offered in 200 MHz jumps:
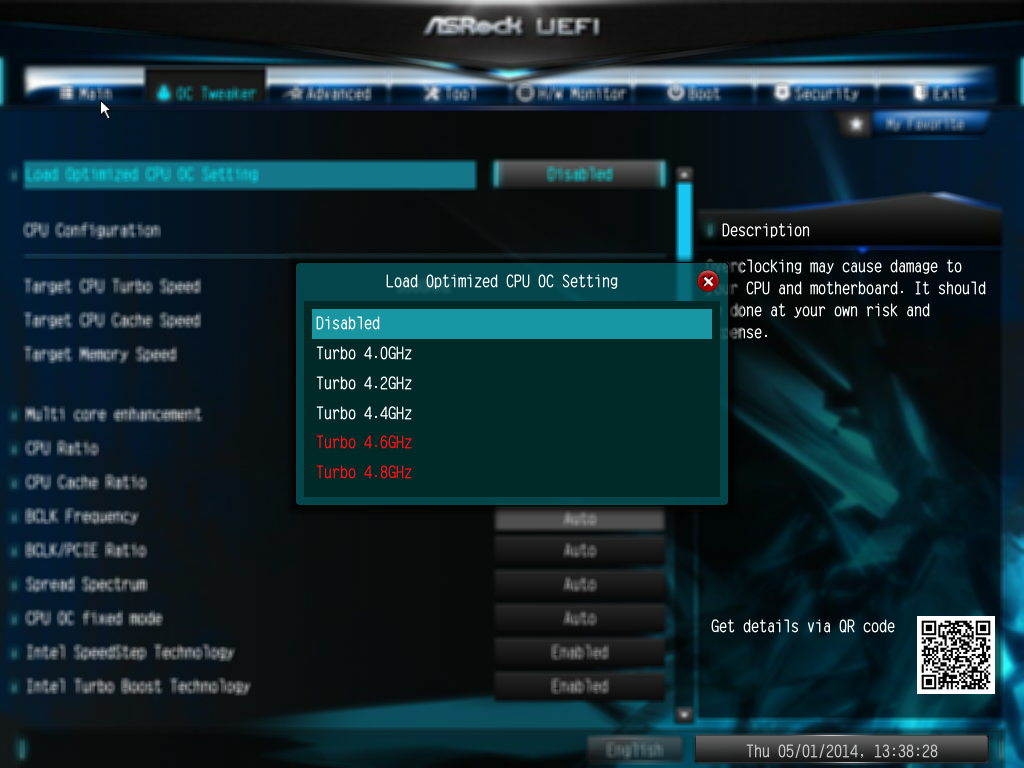
The options use an internal look-up-table that ASRock would have configured, based on their own testing, the best voltage combinations for each setting in order to ensure that most processors are catered for at each step. Our analysis of these is in the overclocking section of this review.

Almost all of the options in the BIOS has an associated description listed on the right hand side. As shown in the screenshot above, Multi-Core Enhancement is enabled by default.
While the motherboard officially supports memory up to DDR3-3200, the memory options provided by ASRock go all the way up to DDR3-4000:
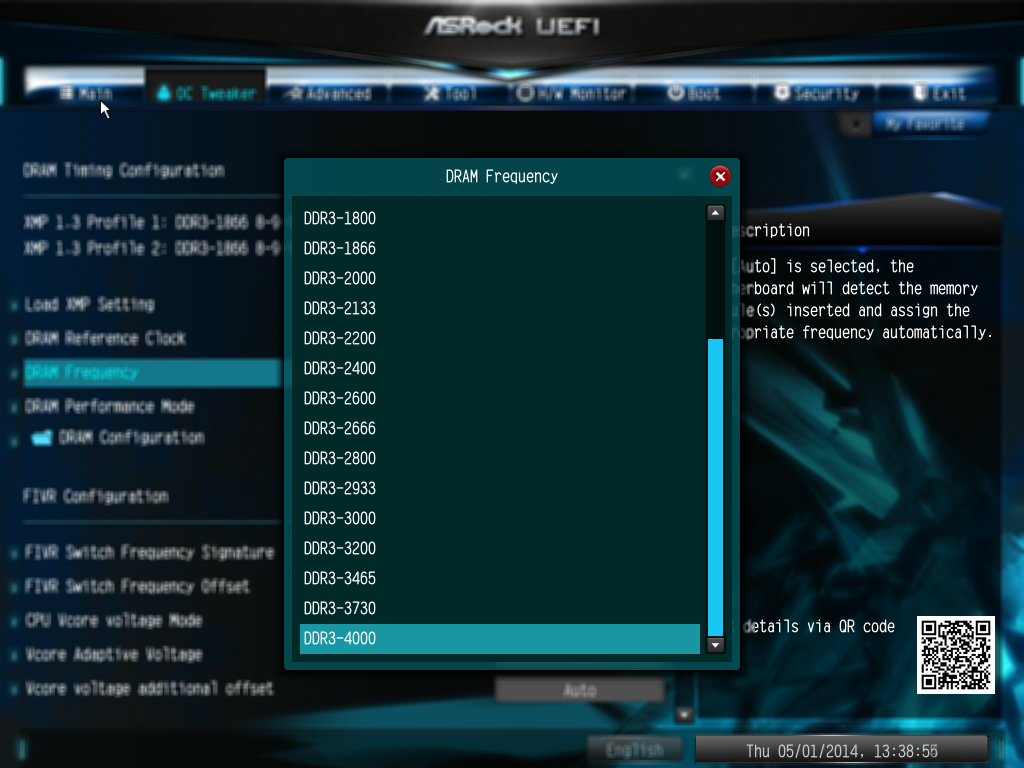
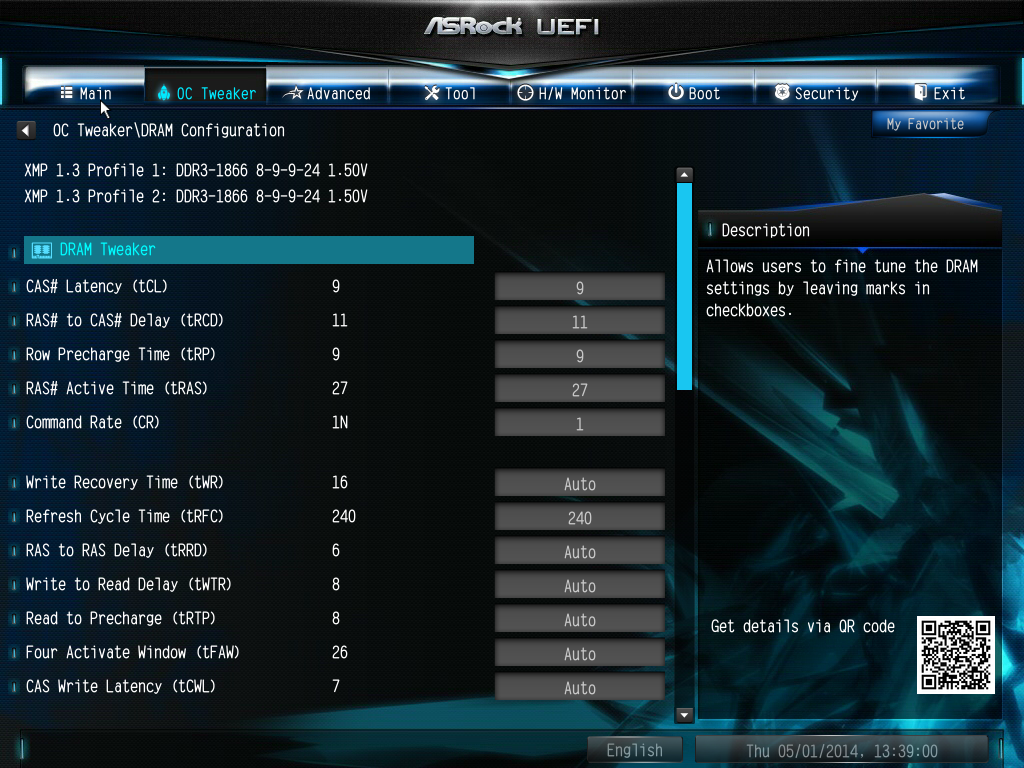
There is also a new option for the memory called ‘DRAM Performance Mode’, which states that it gives higher performance for memory but does not say how. After asking ASRock about this option, the answer was 'for tightening the timing of memory'. The DRAM sub-timings are found in the DRAM configuration menu:
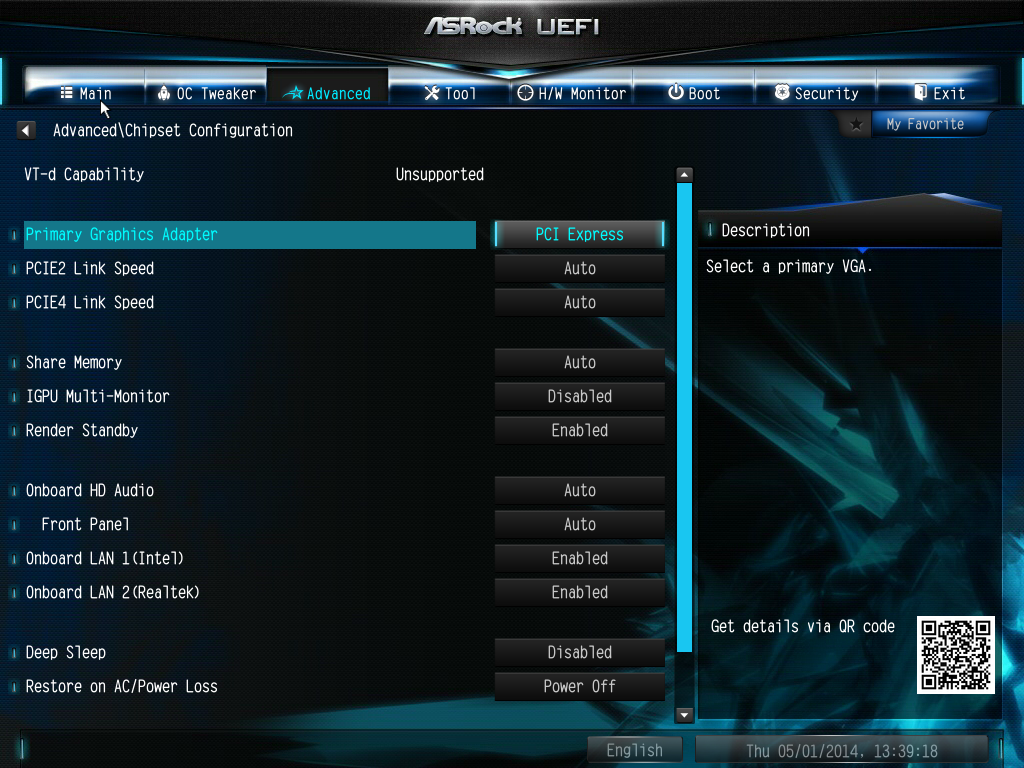
Users interested in disabling the onboard controllers should head to the Advanced -> Chipset Configuration menu, where the Audio/LAN ports can be adjusted as well as the PCIe link speed:
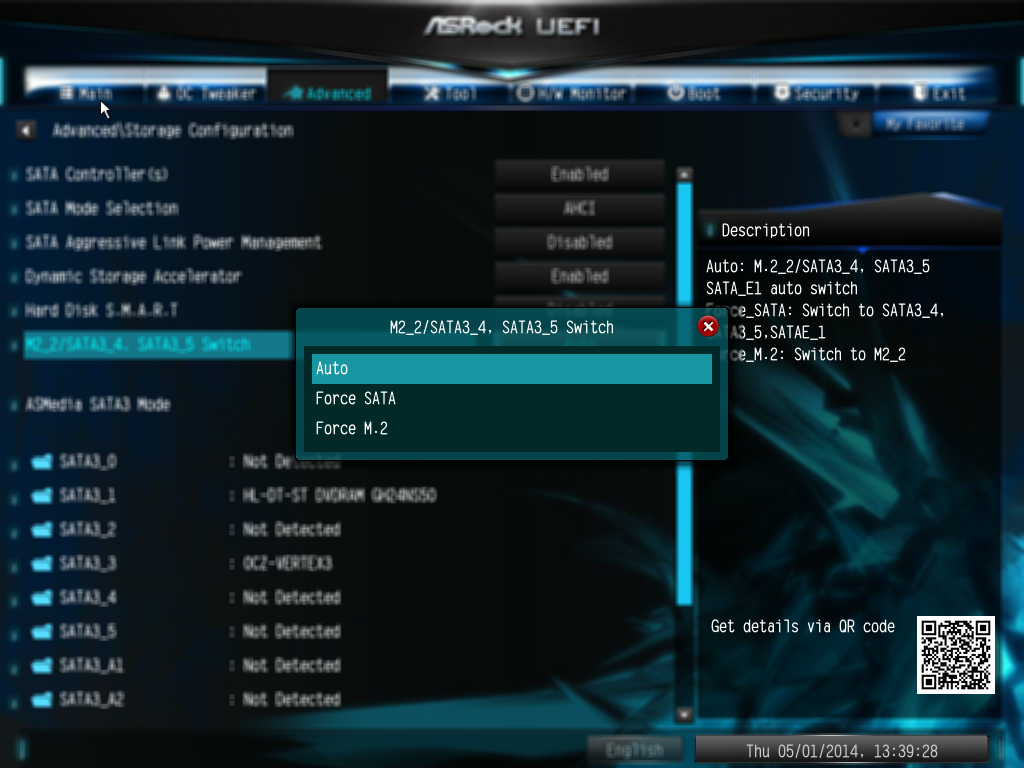
In order to confirm if the M.2 x2 is in use or the SATA Express, the Storage Configuration has the option to force one or the other:
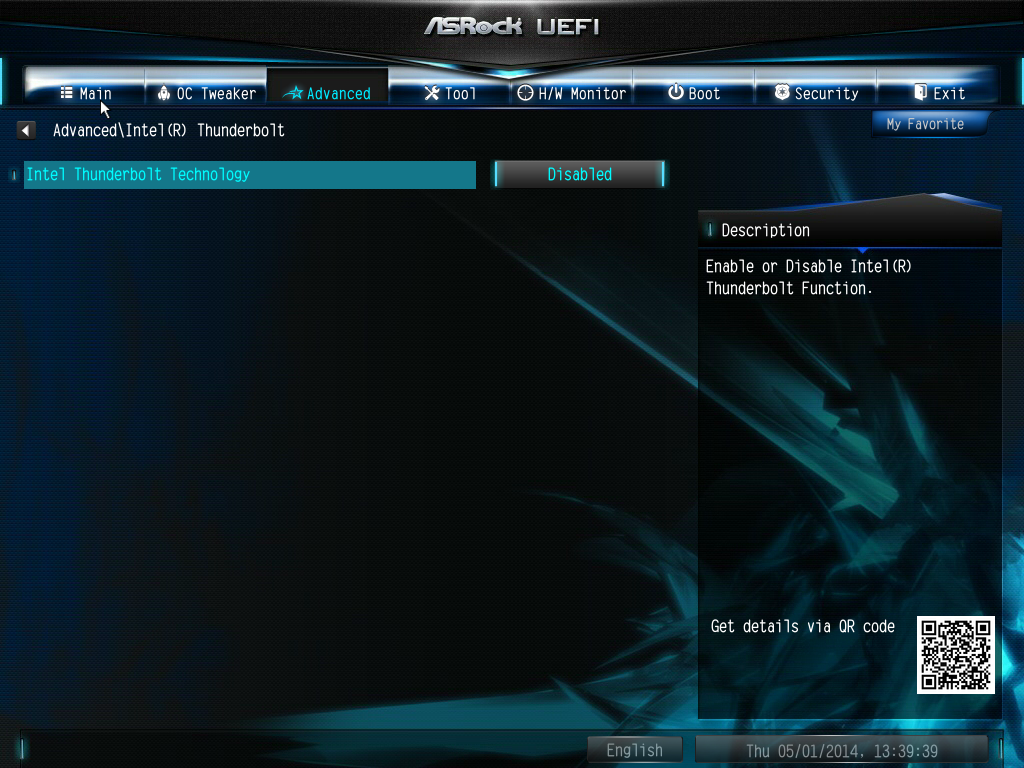
The onboard Thunderbolt header, used for Thunderbolt add-in-cards, is disabled by default in the BIOS. This can be enabled by navigating to Advanced -> Intel Thunderbolt.
Most of the interesting extra options are found in the Tools menu.
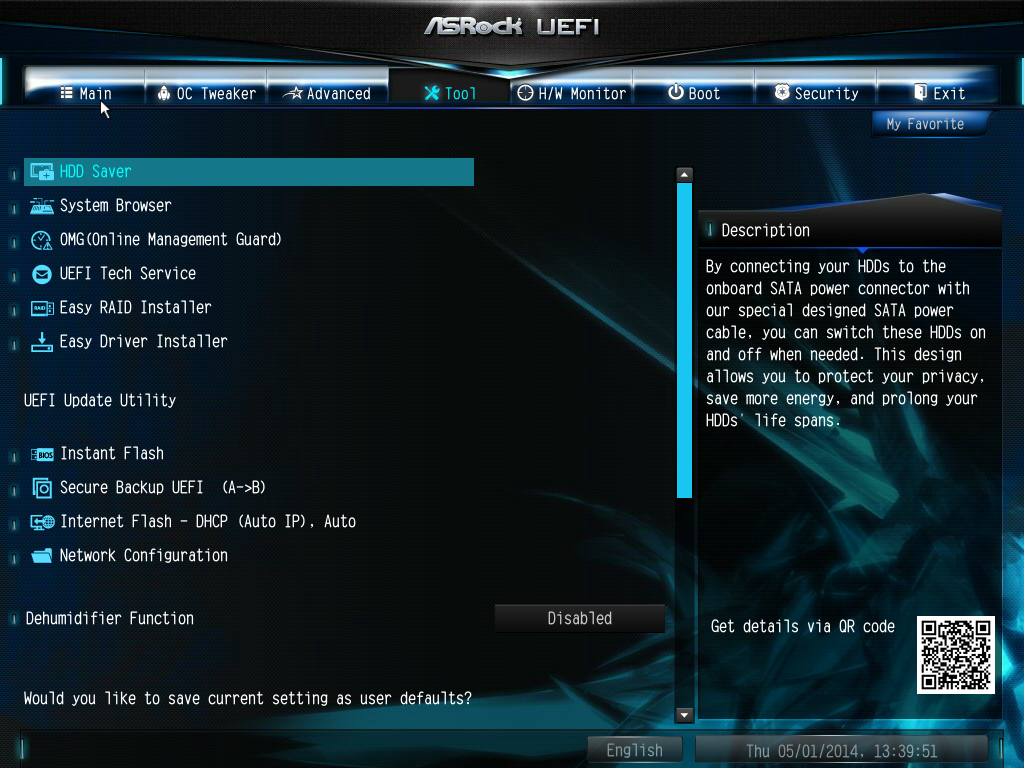
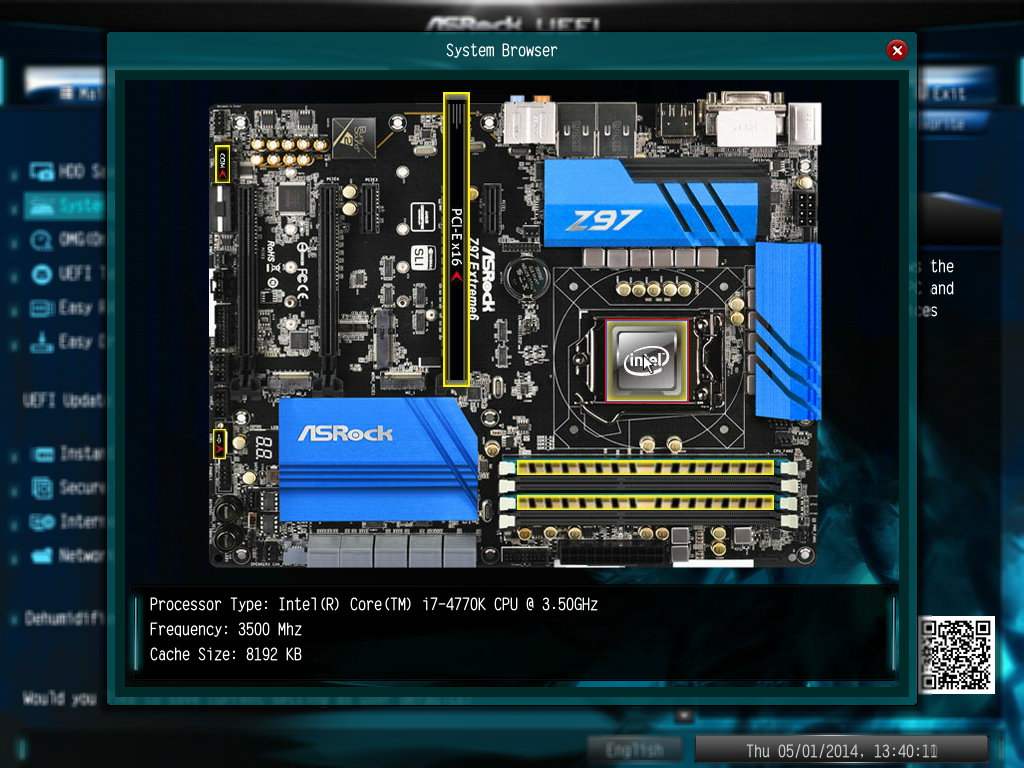
HDD Saver is disabled by default and needs to be enabled here. System Browser is now a staple across most of the motherboard manufacturers as it allows users to see what is installed and detected at POST:
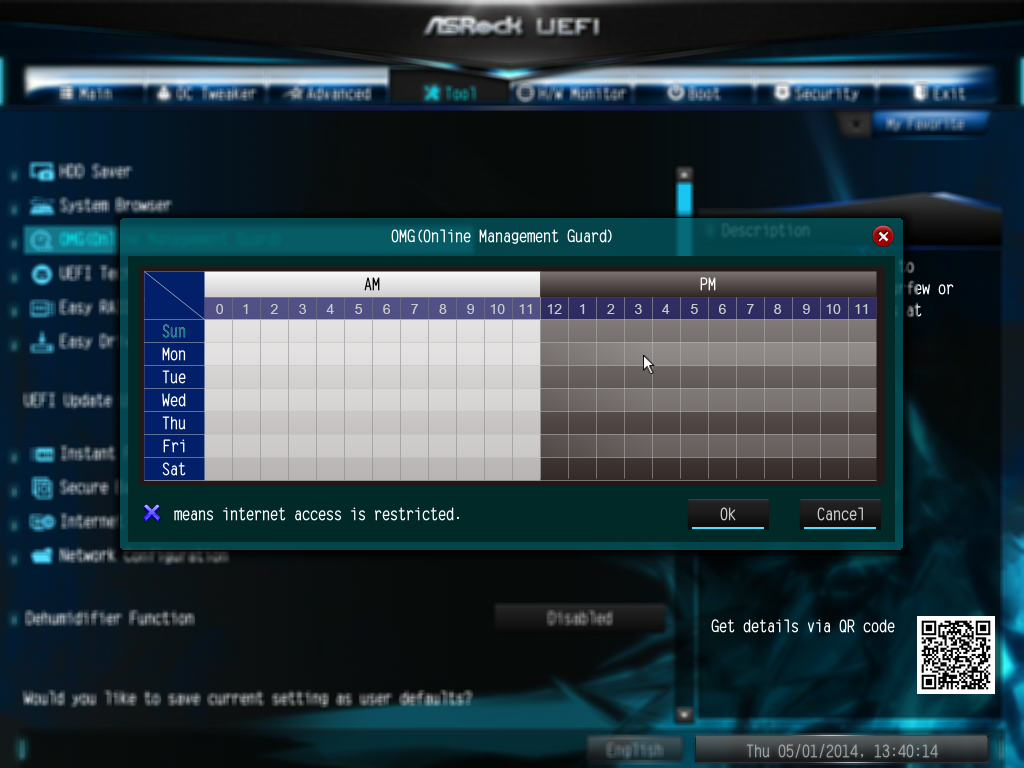
The Online Management Guard (or OMG) is a tool to disable the network ports during certain times of the day, although it does not stop someone changing the rules or the BIOS clock in order to get around it. This is more oriented at parents and non-technical children in my view.
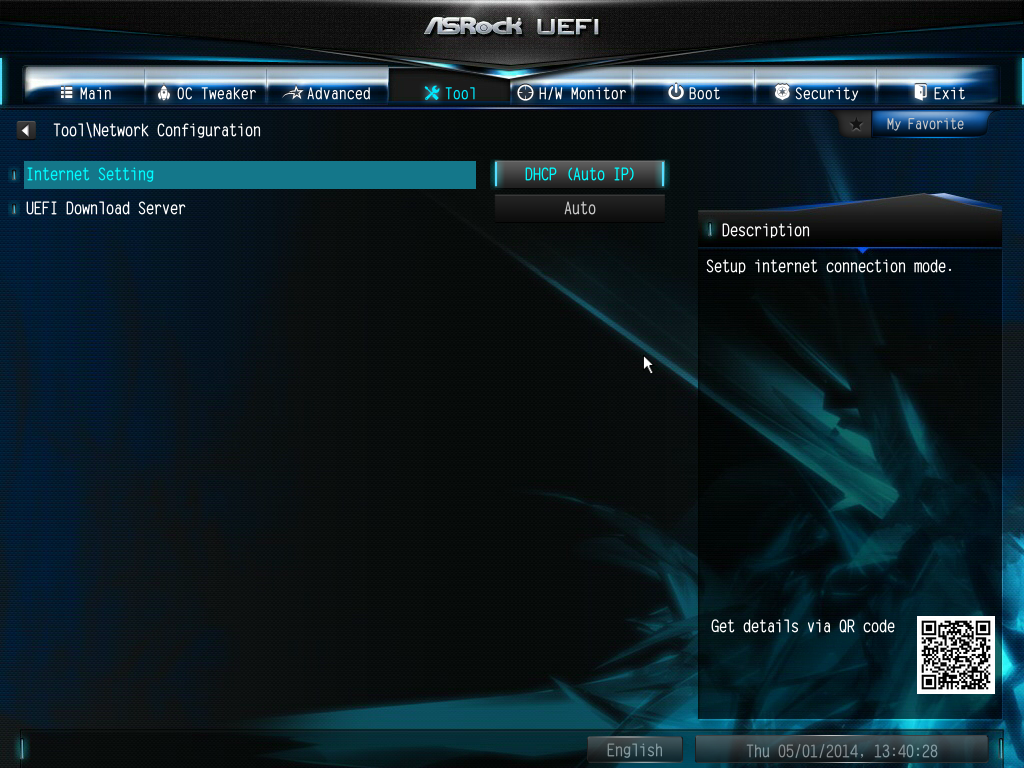
The Tech Support function allows users to submit bug reports when things go wrong, although the system has to be set up via the network configuration option. This means that any system that issues an IP address from a DHCP server should work, rather than via connection sharing. Having the network options enabled also allows users to download updates for the BIOS via the BIOS itself.
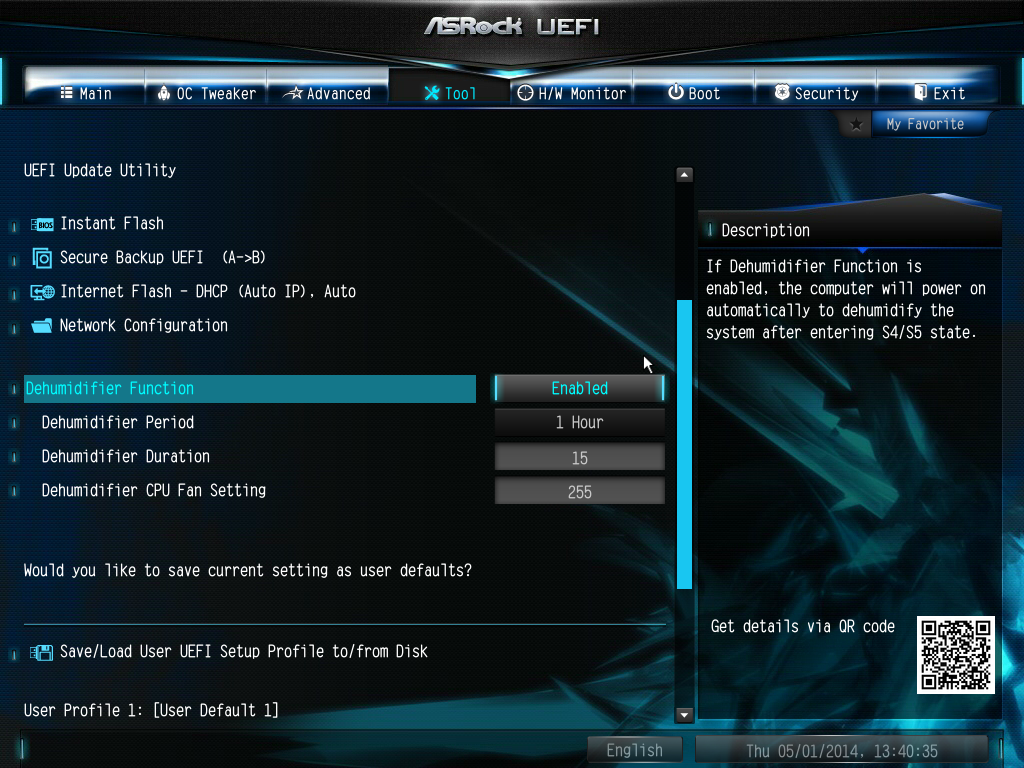
The dehumidifier function sets up a time interval for the system to enable the fans after shutdown. This is used in environments with high humidity whereby the air in the case can be a lot warmer than the air in the room and as the room cools for an evening water will condense on the inside of the case. With this function, the system will keep the fans running after shutdown so the air inside and outside the case can equilibrate.
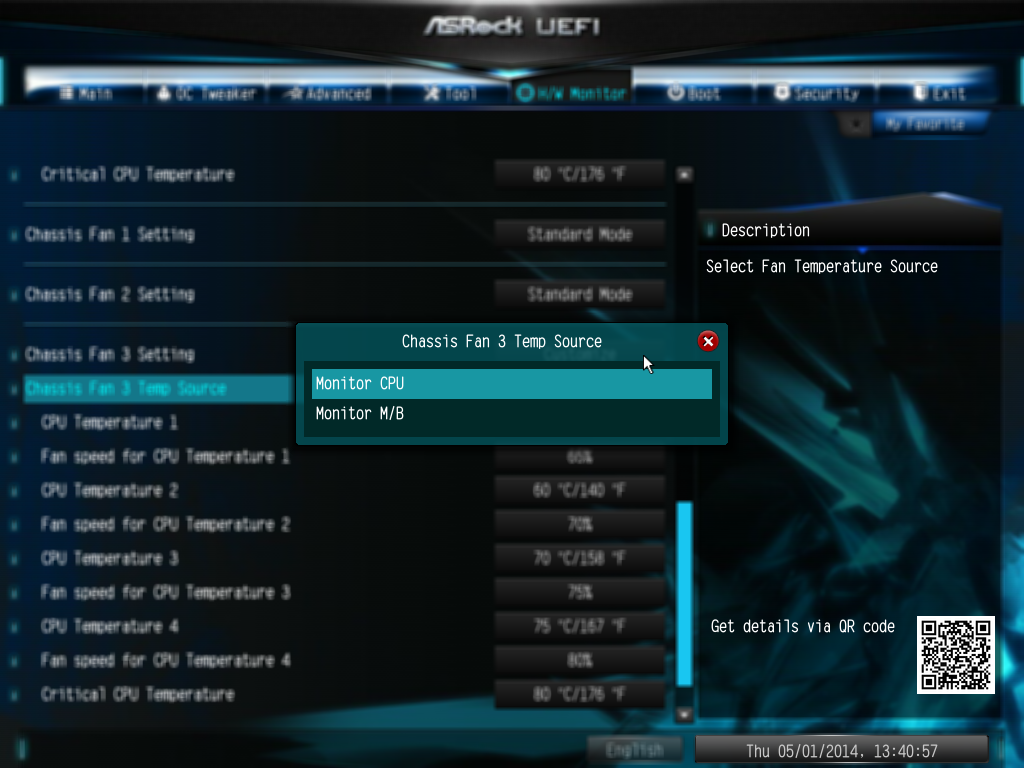
The H/W Monitor tab lists the temperatures, fan speeds and voltages of the system, as well as the fan options from the BIOS:
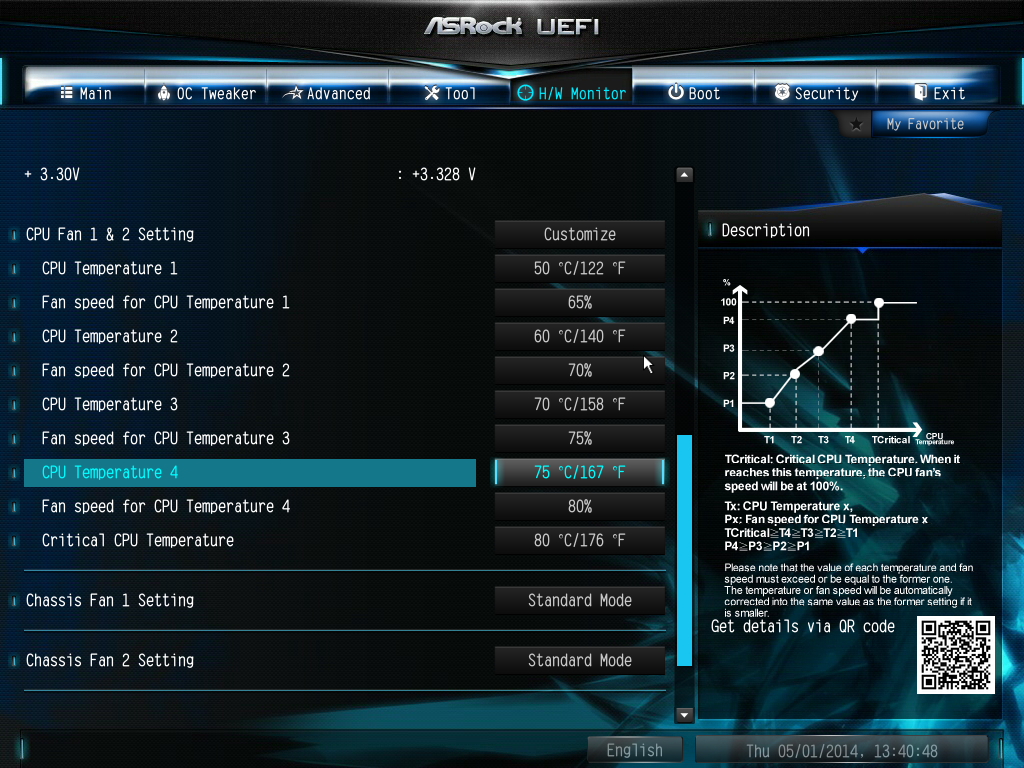
While I appreciate the multi-point gradient system, there is something fundamentally wrong with the wording here. Without testing the fan to find the RPM to power applied profile, you cannot control the fan via the RPM. What ASRock means when they say fan speed here is fan power, which is a different word with a different meaning. It would seem that the software team, which do test the fans to provide fan profiles, and the BIOS team are not talking to each other on this front.
Users can however choose which temperature sensor to base their fan profiles off of:
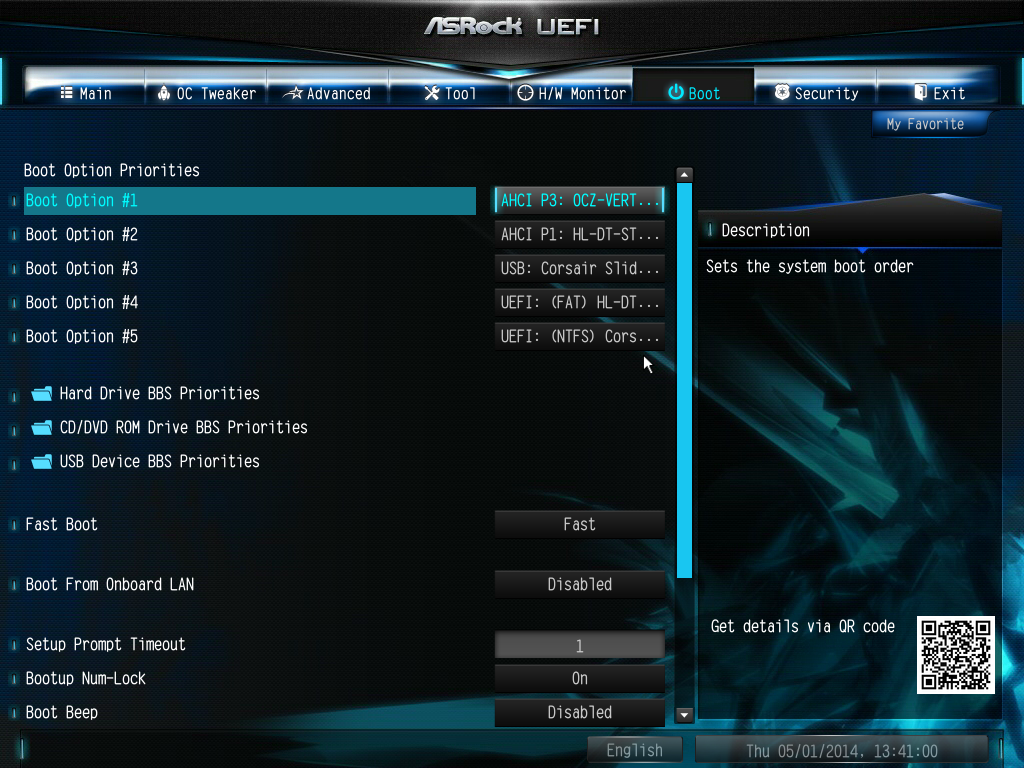
Elsewhere in the BIOS are the boot options, the fast boot options and the security settings. There is no Boot Override function unfortunately.


43 Comments
View All Comments
jed1972 - Sunday, February 1, 2015 - link
Can i use a normal m.2 and ultra m.2 while using dual sli on my asrock z97 extreme 6?Rub9000 - Monday, June 8, 2015 - link
My biggest problem with this board is how picky it is with hard drives and video cards. I removed a drive (I have four) and wanted to use it to build a computer for my wife. I when I removed it, the motherboard freaked out and I had to format the boot drive is reinstall windows. No clue why. The 2nd thing is I use a Nvidia 660 gtx. (yes I know it is an old card). When I installed it I had to use the Gen 2 option in the bios to get the pc to boot. I contacted ASrock to help figure it out with no help from them at all. I ran into the option by chance and used it. It worked and I could log on. No thanks to ASrock support. They are awful. They even belittled my tech back ground when I posted the question on line. (I have a BSIT and over 20 years in enterprise systems support). All that said, I will not buy from ASrock again. Not a company I want to deal with in the future.xtalx - Friday, October 9, 2015 - link
I have an issue with this board as well, when trying to boot from my SSD.I have the following cards on the board:
PCIE2 - r9 280x
m.2 ultra - sm951 512MB
PCIE4 or 4 - Highpoint RAID 2720SGL
If I have the HighPoint RAID card connected, after it goes through the bios / drive checks the screen simply goes blank and the cursor flashes in the top left hand corner and Windows 7 doesn't boot. If I press any keys, such as NUM Lock the system just freezes.
If I remove the card it boots.
Tried various card alignments, but still no joy.
This card works fine in my ASROCK AMD chipset board. I've gone through the UEFI and removed all reference of the HP RAID Card from boot options, set the SATA mode to AHCI, but still no joy.
I'm hoping some one on the ASROCK forum has come across this before and has a solution.