SilverStone Nimiz Temjin III
by Purav Sanghani on March 16, 2004 11:04 PM EST- Posted in
- Cases/Cooling/PSUs
Installation
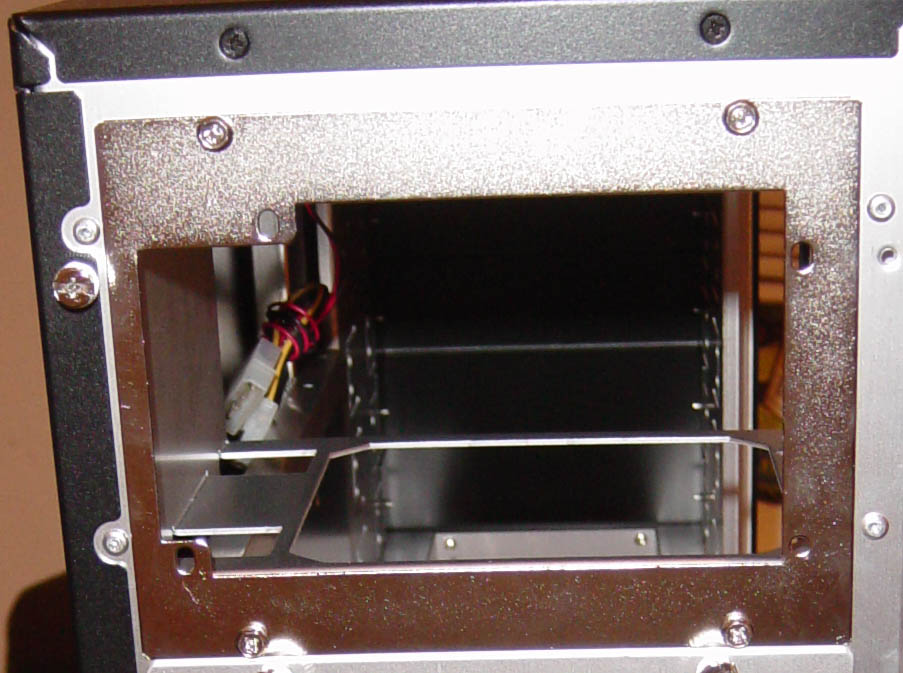
The total time for installation took about 20 minutes, which was due to the lack of a "screw-less" design.Adding a power supply to the Nimiz is simple. Since the motherboard sits about an inch lower from the power supply carriage, there is more than enough space with which to work. The case comes with both a standard power supply (PS) face plate along with a face plate for redundant power supplies. They are easily interchangeable by removing 4 screws on the back.
Click to enlarge.
The motherboard took about 5 minutes to install due to the "screw-in" design of the motherboard tray. Add-on cards usually are not a time consuming installation with the screw-in method, but using sliding clips to lock the cards in place would have also been a time saving feature.
SilverStone provides a manual in its package, which is identical to the manual posted online. The layout is straightforward, gets right to the point. It shows step by step instructions for installation of all the necessary components in clear English. The only misprint that we found was with the dimensions; the height and width were switched. There were no instructions for the front panel adapters, since each motherboard has its own layout.
Click to enlarge.
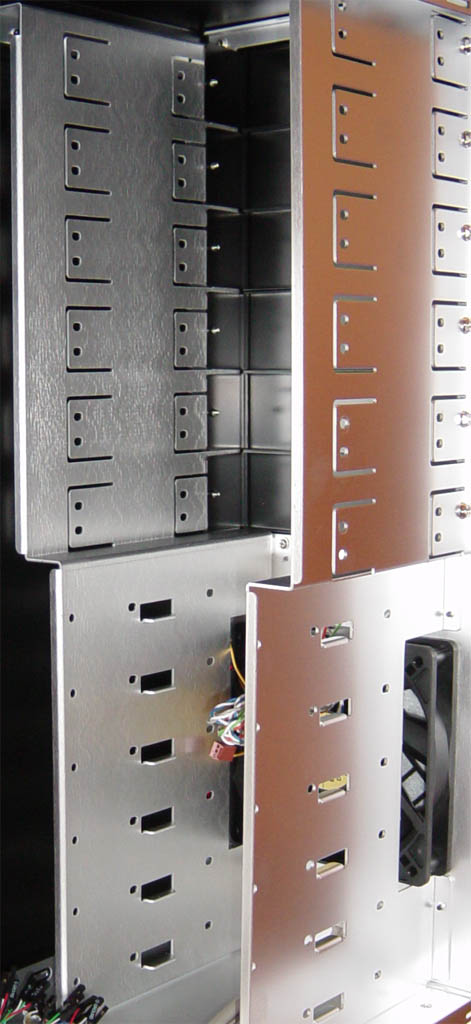
Drive installations were straightforward. The front bay panels were attached to the case by 2 screws, which were easy to remove. A small disadvantage of the 5-1/4" drive bays, again, was the lack of platforms for the drives to sit on. Those who usually slip a drive in and use one screw to hold it in place are out of luck and would need to open up the other side to add screws to the mounting.


11 Comments
View All Comments
Zebo - Wednesday, March 17, 2004 - link
Work of art. I have a silverstone desktop case and it's the same. Has hydrolic doors and an awesome matte alum finish. IMO SS's are worth every dime you pay. Finally someone is building high quality/high fashion cases.